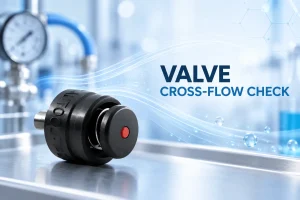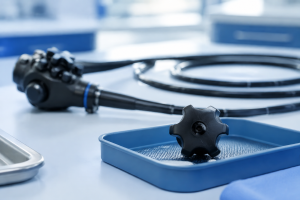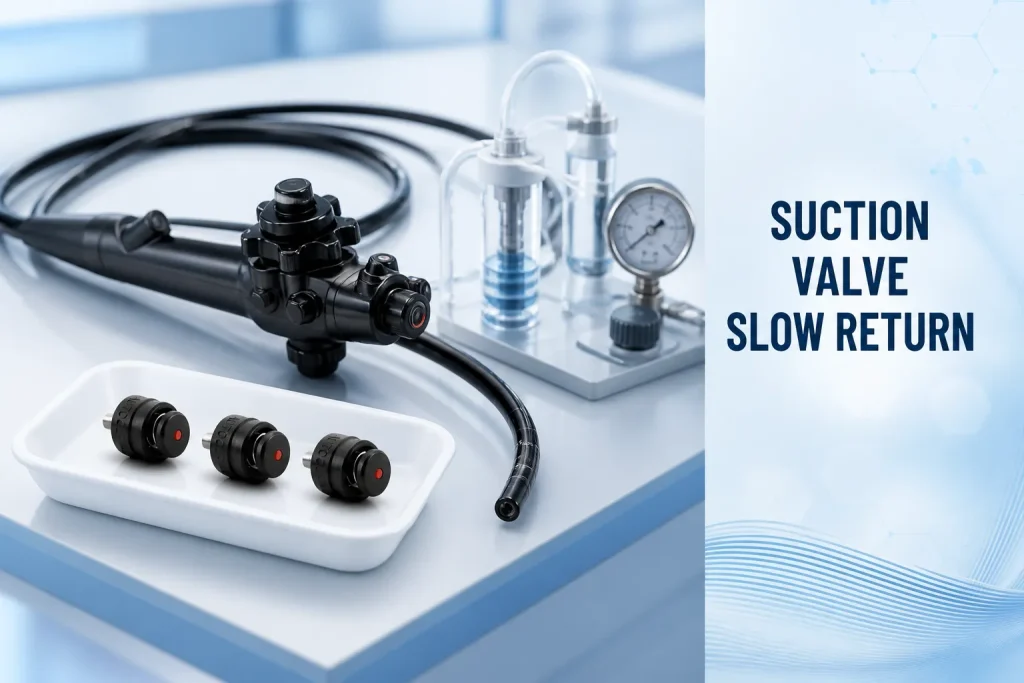
An endoscope suction button that rises slowly, sticks partway or returns differently after repeated cycles presents a system symptom. The removable valve may be worn, but the same observation can result from residue, a damaged seal, an abnormal valve cylinder, incorrect assembly or flow conditions. Replacing the button before isolating the source can leave the fault unchanged.
This workflow is for qualified repair personnel using approved bench equipment. Always follow the endoscope and valve manufacturer’s instructions for use (IFU), service documentation, reprocessing requirements and applicable safety controls.
Describe the Return Fault Precisely
Record whether the button fails to rise completely, returns slowly only after full depression, catches at one point or behaves differently when dry and wet. Note the number of cycles before the symptom appears and whether suction flow changes at the same time. “Sticky valve” is not a sufficient defect description.
Test the endoscope in the manufacturer-approved configuration with compatible accessories, controlled vacuum and supported tubing. Complete required leak and external inspections first. If there is evidence of fluid invasion, cracked components or unsafe contamination, stop and follow the repair center’s containment process.
Begin With External Valve Inspection
Remove the valve only according to the IFU. Under suitable lighting and magnification, inspect accessible surfaces for residue, swelling, cuts, deformation, corrosion, displaced seals and abnormal spring action. Do not use color or general shape as proof that a replacement is compatible.
Clean only by the approved method. Improvised lubricants, solvents or abrasives may change seal behavior and can contaminate the system. If the valve is single-use, follow its labeling and do not reprocess or reuse it.
Bench Observations to Record
- Return time or qualitative return class under the approved method.
- Full travel, partial travel and the position where catching occurs.
- Seal condition and visible surface contamination.
- Spring response outside the cylinder, when inspection is authorized.
- Suction flow response before and after controlled substitution.
- Exact endoscope model, valve reference and test configuration.
Use Controlled Substitution
Test a known-good, verified-compatible valve in the same endoscope, then test the suspect valve in an approved reference fixture or compatible test device when the procedure allows. Change only one item at a time. If the fault follows the removable valve, inspect that valve family. If it remains with the endoscope, move the investigation to the valve cylinder and suction path.
A substitute valve must be traceable and confirmed suitable for the exact model. A visually similar valve can have different travel, spring rate or sealing geometry.
Inspect the Valve Cylinder and Mating Surfaces
With the device safely disconnected, inspect the accessible cylinder for residue, scratches, deformation, damaged transitions or retained cleaning material. Use approved gauges or visual standards if specified. Never reshape the cylinder or polish a sealing surface without an authorized service method.
Determine whether friction occurs at the same point in valve travel. A fault fixed in position may indicate a local interface condition; a progressively slower return after repeated cycling may suggest residue, swelling or changing seal friction. These patterns guide the next test but do not prove a cause by themselves.
Relate Mechanical Return to Suction Performance
Measure suction performance under controlled conditions before selecting a part. A button can move normally while the channel, connector, tubing or external suction source limits flow. Conversely, adequate peak flow does not prove that return and sealing are acceptable. Evaluate movement, sealing and flow as separate characteristics.
Choose the Repair Region From Evidence
A fault that follows the verified valve supports assessment of the air, water and suction valve product family. A fault that remains with the endoscope requires model-specific inspection of the cylinder and suction path. Provide the exact model and controlled part reference when sourcing a compatible replacement.
Verify the Corrective Action
Repeat the original cycle count, travel and flow conditions after repair. Confirm smooth depression, complete return, sealing and suction response. Complete all required leak, functional and safety tests before release. A button that feels better for one cycle is not adequate verification.
Record the installed valve reference and lot when applicable, test-vacuum configuration, number of operating cycles and inspector approval. If the return fault cannot be reproduced but no cause was confirmed, follow the repair center’s no-fault-found procedure rather than treating the absence of one bench event as proof of conformity.
FAQ
Does slow return prove that the spring is weak?
No. Seal friction, residue, swelling, cylinder condition and assembly can create the same symptom. Isolate the fault before replacing the valve.
Can lubricant be added to make the button return faster?
Only if the manufacturer specifically authorizes the product and method. Unapproved lubricant can damage materials, trap soil or affect reprocessing.
What should accompany a valve-parts inquiry?
Provide the exact endoscope model, valve function, controlled part reference when available, clear photographs, isolated test result and quantity.
Conclusion
Slow suction-valve return should be traced through the removable valve, seals, cylinder, suction path and test conditions. Controlled substitution and repeatable verification prevent an unsupported part change. For a documented compatible-parts requirement, contact Endopart with the model, observations and required quantity.