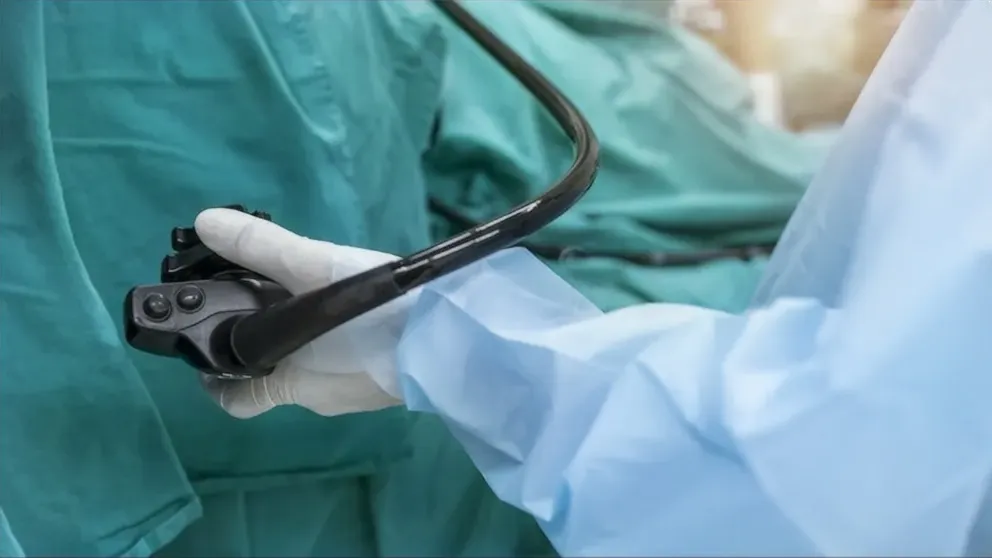
Localized dimming, uneven illumination or brightness that changes with movement can involve the light guide tube, but the observation does not identify that component by itself. The fiber bundle, optical interfaces, distal lens, light source, automatic brightness control and test setup can create similar results. A repair engineer must first prove which part of the illumination chain changes under controlled conditions.
This article describes a system-isolation approach for qualified personnel. It does not disclose model-specific internal routing or replace manufacturer service documentation and IFU requirements.
Define the Illumination Symptom
Record whether the image is uniformly dark, darker on one side, unstable during movement, warm or cool in color, or normal only at high light-source output. Separate illumination variation from electronic image noise, color processing and monitor behavior. Use a stable non-clinical target rather than objects around the workshop.
Document the processor, light source, monitor, adapters, settings, warm-up time and ambient lighting. Confirm that a known-good compatible endoscope produces the expected result on the same station. If the common station is unstable, investigate it before opening the suspect scope.
Establish a Repeatable Optical Baseline
Use the manufacturer-approved test target, working distance and image settings. Record brightness distribution in the neutral position and during only the permitted movements. Do not force tight bends to reproduce a fault. If the symptom appears after several minutes, include the same stabilization period in every comparison.
Automatic brightness can mask transmission loss by increasing source output or electronic gain. Record whether automatic functions are enabled and repeat observations in the approved reference mode.
Map the Illumination Chain
The useful diagnostic map begins at the source and continues through the external optical interface, light guide connection, internal bundle or tube path and distal optical elements. Designs differ, so the map must come from controlled documentation for the exact model. The purpose is to identify test boundaries, not to assume a generic internal arrangement.
Evidence at Each Boundary
- Known-good source output and approved station configuration.
- Condition of accessible light-guide interfaces.
- Brightness and uniformity in the neutral position.
- Response to permitted movement by external zone.
- Distal lens cleanliness and visible condition.
- Comparison with a known-good compatible scope.
Inspect Accessible Optical Interfaces
After safe shutdown, inspect accessible optical surfaces for contamination, scratches, chips, moisture evidence, thermal discoloration and mechanical damage. Use the specified cleaning method. Cotton fibers, abrasive wipes and unapproved solvents can produce new artifacts.
A contaminated interface can reduce transmission without any internal damage. Clean, retest and document the result before proceeding. If a surface is damaged, determine whether it belongs to a replaceable light guide lens or another controlled assembly for that model.
Use a Controlled Movement Matrix
Support the scope and divide the external path into manufacturer-defined regions. Apply small permitted movements to one region at a time while observing illumination. Record the direction, radius, held position and recovery. A reproducible change near a transition narrows the region, but it does not prove that a tube is compressed.
Repeat the cycle enough times to distinguish a pattern from random automatic brightness changes. Stop if movement causes unexpected resistance, crackling, image loss, leakage evidence or unsafe strain.
What Light Guide Tube Compression Can Look Like
A compressed or kinked tube may create a position-dependent reduction in transmitted light, local mechanical stiffness or a routing conflict. The exact effect depends on design and on what the tube protects or contains. Visual inspection may reveal flattening, permanent bend, abrasion or pressure marks only after model-approved access.
Do not cut, straighten or heat a suspect tube to test it. Such actions can destroy evidence, damage the enclosed path and make later dimensional comparison meaningless.
Separate Tube Condition From Bundle Damage
A bundle can lose transmission through broken fibers, bending damage or interface failure. A protective tube can be deformed while the bundle remains functional, or the bundle can be damaged without obvious tube deformation. Inspect and test each according to the manufacturer’s procedure.
If the fault follows permitted movement of a defined tube region, inspect that region and adjacent transitions. If reduced transmission remains constant across movement and optical interfaces are clean, bundle transmission testing may become more relevant. Do not order a light guide bundle solely because the image is dark.
Separate Tube and Bundle Faults From Lens Faults
Distal or proximal lens damage can create uneven light, flare, reduced output or visible artifacts. Compare the optical pattern with controlled examples. A lens defect is often fixed in orientation, while a routing-related fault may change with movement; however, this is a diagnostic clue rather than a universal rule.
Inspect attachment and sealing regions only when authorized. A loose, contaminated or incorrectly seated optical element may require different corrective action from a scratched lens.
Exclude the Light Source and Processor
Confirm source output, lamp or LED status, filters, shutters and cooling conditions according to the equipment manufacturer’s procedure. Test with a known-good compatible scope and, where authorized, a calibrated light measurement device. A source that regulates poorly can imitate an intermittent internal fault.
Monitor and processor settings can also alter perceived brightness. Keep them constant and verify that menu graphics or external test patterns remain stable.
Inspect Routing Only With Model-Specific Authorization
If evidence supports the light guide tube region, follow the exact service documentation for access. Record original orientation, supports, clearances and transition points before disturbing anything. Look for pinch points, missing restraints, abnormal crossing, adhesive migration and contact with moving structures.
Do not infer a routing path from another model. Small changes in control-body geometry, insertion-section diameter or connector design can change the approved path.
Measure a Replacement Correctly
A compatible light guide tube requirement may depend on length, inner and outer diameter, material, end treatment and model application. Use controlled specifications and defined datums. A removed tube can be stretched, flattened or trimmed and should not be the only standard.
When preparing an inquiry, provide the exact model, controlled part reference, approved dimensions, photographs of the unmodified sample and quantity. Do not describe a part as universally compatible across a brand.
Installation Controls
Protect optical and flexible elements from sharp bends, twisting, contamination and excessive tension. Maintain specified bend radius and routing clearance. Verify that the tube does not interfere with control movement, channels or other structures during the approved functional sequence.
Use only specified fixtures, adhesives and curing conditions. A tube that appears to fit may still create pressure after the control body is closed or after the insertion section is flexed.
Post-Repair Verification
Repeat the original optical baseline and movement matrix using the same station. Confirm brightness, uniformity and stability in neutral and permitted positions. Compare against manufacturer acceptance criteria and a known-good compatible reference where the quality system permits.
Complete leak, electrical-safety and functional testing required for the model. If several optical components were changed simultaneously, document that the precise root cause may be limited by the repair method.
Use Quantitative Checks Where the Procedure Allows
Visual comparison is valuable, but calibrated measurements can make a marginal illumination complaint easier to reproduce. Depending on the manufacturer’s method, the repair center may record relative output, uniformity across a target, source setting or another defined characteristic. Use the specified instrument, geometry and stabilization time; values from a phone camera or an uncalibrated monitor are not interchangeable with controlled optical data.
Trend data should be compared only across equivalent stations and settings. A lower value after moving to a different target distance or processor mode does not demonstrate degradation. Record uncertainty and equipment identifiers when required by the quality system.
Handle Optical Parts Without Creating New Faults
Light-transmission components are vulnerable to dust, fingerprints, scratches, sharp bends and contamination from adhesives or cleaning agents. Prepare a clean work surface and capped storage for removed items. Never place an exposed optical end directly on a metal bench or allow a coiled bundle to carry the weight of another assembly.
When a part is retained for supplier analysis, protect its original condition and label it outside functional surfaces. Do not clean away deposits that may be relevant until the investigation owner defines the examination sequence.
Review Adjacent Mechanical Loads
A recurring tube deformation may be evidence of an adjacent mechanical issue rather than an isolated material failure. Check approved clearances at transitions, moving controls and closure points. Confirm that clamps, supports and protective boots are present and correctly positioned. A replacement installed into the same pinch condition can fail again.
Exercise all related controls through their specified range before final closure and after closure. Observe whether the optical output or mechanical effort changes. If closing the housing recreates the symptom, stop and recheck routing rather than applying additional compression to make the cover fit.
Build a Useful Repair Record
The record should connect the complaint, reproducible condition, isolated region, observed physical evidence, replaced item and post-repair result. Include photographs that show orientation without exposing proprietary documents or patient information. Avoid unsupported root-cause language such as “bundle broken” when the repair changed both the bundle and tube.
Consistent records allow a repair center to distinguish installation recurrence from material, handling or station issues across future cases. They also provide a precise basis for a supplier inquiry.
Escalation and Stop Conditions
Stop testing when there is fluid-ingress evidence, overheating, unusual odor, exposed conductors, sudden mechanical binding or an unsafe connection. Isolate the device and follow the quality and safety procedure. Do not continue moving a suspect tube merely to increase the event count.
Escalate when the exact service information, optical equipment, replacement specification or authorization is unavailable. Conflicting results between approved stations also require investigation before parts are changed. Manufacturer or specialist support may be necessary when the isolated region exceeds the repair center’s validated capability.
No-Fault-Found Illumination Complaints
If the reported dimming cannot be reproduced, compare the customer’s processor, source, settings, elapsed operating time and movement conditions with the bench configuration. Repeat only approved tests after the specified stabilization period. Do not expose the scope to unapproved temperature or bending in an attempt to force the symptom.
Document the scope of testing and its limitations. A no-fault-found result does not prove that an intermittent problem never occurred; disposition should follow the responsible technical and quality procedure.
Before closing the investigation, a second qualified reviewer should compare the original complaint, station baseline, movement matrix, physical findings and post-repair evidence. The review should confirm that the conclusion does not extend beyond the data. This is particularly important when multiple optical items were changed, when the symptom appeared only after warm-up or when the repair team could not reproduce the customer’s exact system configuration.
Common Diagnostic Errors
- Calling every dark image a damaged light guide bundle.
- Ignoring automatic brightness and processor settings.
- Flexing the endoscope aggressively to force an intermittent symptom.
- Replacing a tube without checking lens and interface condition.
- Copying routing from a visually similar model.
- Verifying only in a neutral position after repair.
FAQ
Does a flattened tube prove that the light guide bundle is broken?
No. The tube and bundle must be assessed separately under the model-specific procedure.
Why does brightness improve when the scope is moved?
A movement-dependent result narrows the affected region but can involve interfaces, bundle path, tube routing or signal behavior. Continue controlled isolation.
Can a removed tube be straightened and reused?
Only if the manufacturer’s procedure explicitly permits it and the part meets every acceptance criterion. Do not improvise heat or reshaping.
What is the strongest evidence for successful repair?
Passing the approved optical baseline, original movement conditions and all required safety and functional tests with documented results.
Conclusion
A final peer review should confirm that the selected replacement and stated cause are supported by recorded tests, not merely by the appearance of a removed tube.
Light guide tube compression should be diagnosed within the complete illumination chain. Control the station, map the symptom, inspect interfaces, separate tube, bundle, lens and source behavior, then challenge the original fault after repair. For a documented compatible tube requirement, contact Endopart with the exact model, dimensions, photographs and quantity.