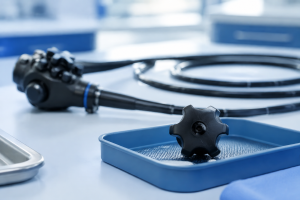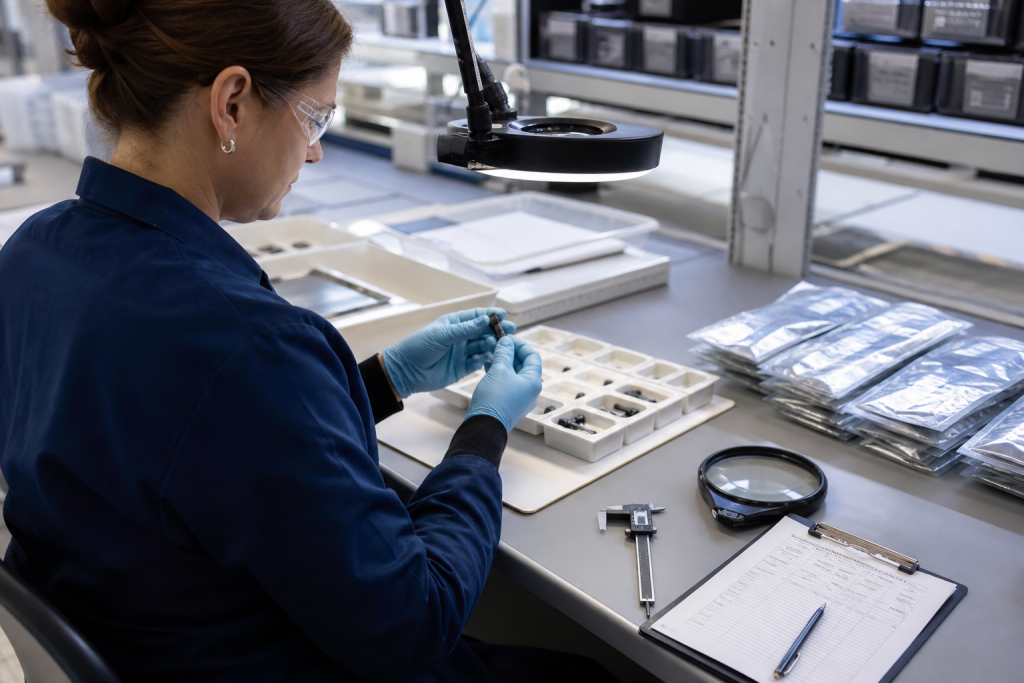
When compatible endoscope spare parts arrive at a repair center, the receiving step should do more than confirm that a box contains the ordered quantity. A structured incoming quality inspection helps detect wrong variants, transport damage, dimensional discrepancies, incomplete documentation, and workmanship concerns before a part reaches the repair bench.
The inspection plan should be risk-based and specific to the component. An O-ring, angulation cable, insertion tube, valve component, and optical part do not need identical tests. The objective is to create documented evidence that the received part matches the approved purchase specification and is suitable to enter the repair process.
Prepare the Purchase Specification Before Delivery
Incoming inspection begins with a clear order. Record the endoscope manufacturer and exact model, compatible-part description, drawing or measured characteristics, material or finish requirements where known, quantity, packaging expectations, and any documentation required from the supplier. Avoid relying on a photograph as the complete specification.
Define acceptance criteria before the shipment arrives. This prevents an inspector from making inconsistent decisions based only on how a part looks. For critical characteristics, specify the measuring method, equipment, tolerance, and sampling rule approved by your quality system.
Step 1: Verify Identity and Traceability
Match the purchase order, packing list, supplier label, part description, quantity, and model-compatibility statement. Record the supplier’s lot or batch identifier when provided. Keep the receiving record linked to the repair inventory so a later issue can be traced to the affected shipment.
Quarantine parts whose identity is unclear. A component should not be released simply because it resembles stock already on the shelf. Similar-looking seals, tubes, cables, or valves can differ in dimensions and intended application.
Step 2: Inspect Packaging and Cleanliness
Check for crushed packaging, punctures, moisture, open seals, loose components, or inadequate protection against bending and abrasion. Examine the part under suitable lighting for visible contamination, corrosion, chips, burrs, scratches, discoloration, or deformation.
Packaging does not automatically establish sterility or readiness for clinical use. Treat all labeling and processing claims according to the supplier documentation, applicable regulations, and your approved procedures. Repair centers must follow the endoscope manufacturer’s IFU for cleaning, disinfection or sterilization, and release.
Step 3: Check Critical Dimensions
Choose measurements based on the component and the risk of incorrect fit. Examples include outer diameter, inner diameter, total length, working length, wall thickness, fitting geometry, cable diameter, seal cross-section, and hole spacing. Use calibrated instruments appropriate to the tolerance and material.
Avoid measurement methods that deform soft tubing, rubber, mesh, or thin coil structures. Record the instrument identification and results when required by your quality process. If a dimension is outside the approved limit, segregate the part rather than modifying it to fit.
Step 4: Examine Workmanship and Interfaces
Inspect transitions, bonded or joined areas, machined edges, threads, cable terminations, coil ends, molded surfaces, optical faces, and sealing areas as applicable. Look for conditions that could create abrasion, leakage, restricted movement, poor seating, or premature wear.
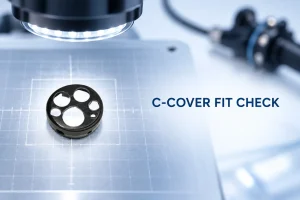
Confirm mating geometry with approved gauges, fixtures, drawings, or verified comparison samples. A removed worn part is not always a reliable master because service wear may have changed its dimensions.
Step 5: Apply Risk-Based Functional Checks
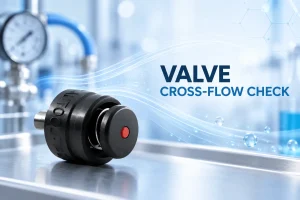
Some parts require only identity, visual, and dimensional acceptance. Others may need controlled movement, fit, flow, optical, sealing, electrical, or material-related checks. Use validated methods and model-specific limits. Do not perform improvised tests that could damage the part or create an unsupported performance claim.
Part acceptance is separate from final device release. After installation, qualified personnel must complete the required endoscope-level functional and safety checks under the manufacturer’s service information and IFU.
Suggested Incoming Inspection Record
- Purchase order, supplier, receipt date, part description, quantity, and lot or batch.
- Compatible endoscope manufacturer and model.
- Packaging and visual-inspection results.
- Critical measurements, limits, equipment identification, and inspector.
- Required certificates or supplier documents received.
- Acceptance, conditional hold, or rejection decision.
- Photographs and nonconformance reference when applicable.
Managing Nonconforming Parts
Physically or electronically segregate suspect items so they cannot be issued accidentally. Document the discrepancy with photographs and measurement data, then contact the supplier with the order, lot, model, and concise failure description. Track replacement, return, rework authorization, or disposition through the repair center’s quality process.
Trend repeated issues by supplier, part family, model, and failure type. A rising pattern of dimensional rejects, shipping damage, or early field failures can justify tighter sampling, revised packaging, clearer specifications, or supplier corrective action.
Frequently Asked Questions
Should every part receive 100% inspection?
Not necessarily. The sampling approach should reflect component risk, supplier performance, lot size, process capability, and your quality-system requirements. Critical or newly sourced parts may justify increased inspection.
Can a repair center use an original removed part as the only reference?
It can provide useful clues, but wear, deformation, deposits, or prior repair may make it unreliable as the sole standard. Use approved specifications, drawings, gauges, and model information whenever available.
Does passing incoming inspection prove the repaired endoscope is safe?
No. Incoming inspection accepts a component into inventory. The repaired endoscope still requires all applicable functional, leak, safety, reprocessing, documentation, and release checks.
Conclusion
A consistent incoming inspection process turns purchasing information into controlled repair inventory. Identity, traceability, packaging, dimensions, workmanship, and risk-based checks should all be documented before compatible parts are released. Explore Endopart’s endoscope spare parts or contact Endopart to discuss model-specific requirements.
Reference: The FDA notes that poor-quality servicing can contribute to device malfunction and adverse events, and distinguishes servicing intended to return equipment to OEM safety and performance specifications. See FDA: Remanufacturing and Servicing Medical Devices.